Hello everyone, today we will be learning how to setup an android simulator on your own computer. We will be constantly update this post if we have change anything or have modify our installation process.
Software we will be using is (for now):
- Genymotion
Desktop Virtualization we are using is Virtual Box in Windows OS (You can also download Virtual Box in Linux distrubtion).
Step 1: Installation of Genymotion on your host. Here is the documentation if you need it.
- First, create an account with Genymotion Desktop here.
- After validating your account, go to the installation page.
- At the installation page, you can choose the relevant packages to download for your OS version (Windows, Linux, Mac).
- For Windows, there are 2 executable file you can download and install with just a few clicks.
- The first executable file consist of both Genymotion Desktop application and Virtual box, if you have not install virtual box on your host, then the first executable file is more convenient to run it on your host to install both Genymotion and Virtual Box.
- The other executable file only consist of Genymotion Desktop application for you to install if you already install Virtual Box on your host.
- For Linux distribution,
- You have to install virtual box and Genymotion Desktop application separately.
- If you are using Linux distribution, I will assume you know how to install virtual box on your host machine. But if you don’t know, here is the link for steps to install virtual box in Linux distribution.
- For Genymotion installation, you will get a binary file where you have to do a chmod command to run the binary file.
sudo chmod +x genymotion-3.0.4-vbox Step 2: Running Genymotion on your host machine
- In Windows, double click to run the application. For Linux distribution, go to the path where genymotion is installed and type “./genymotion” to start the application.
- At the login, input your username and password.
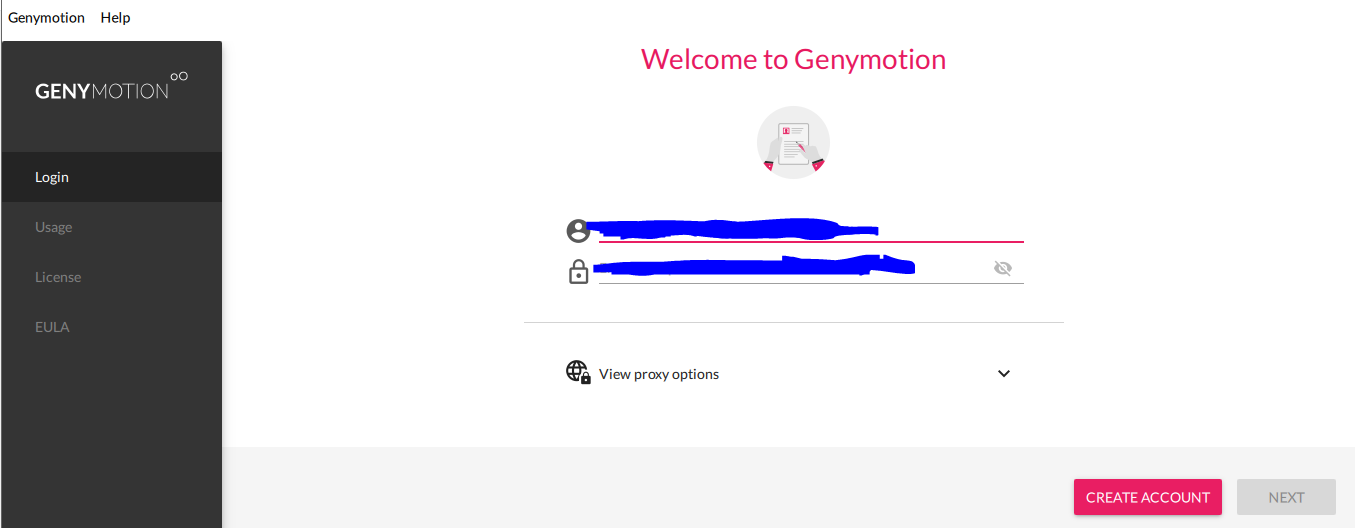
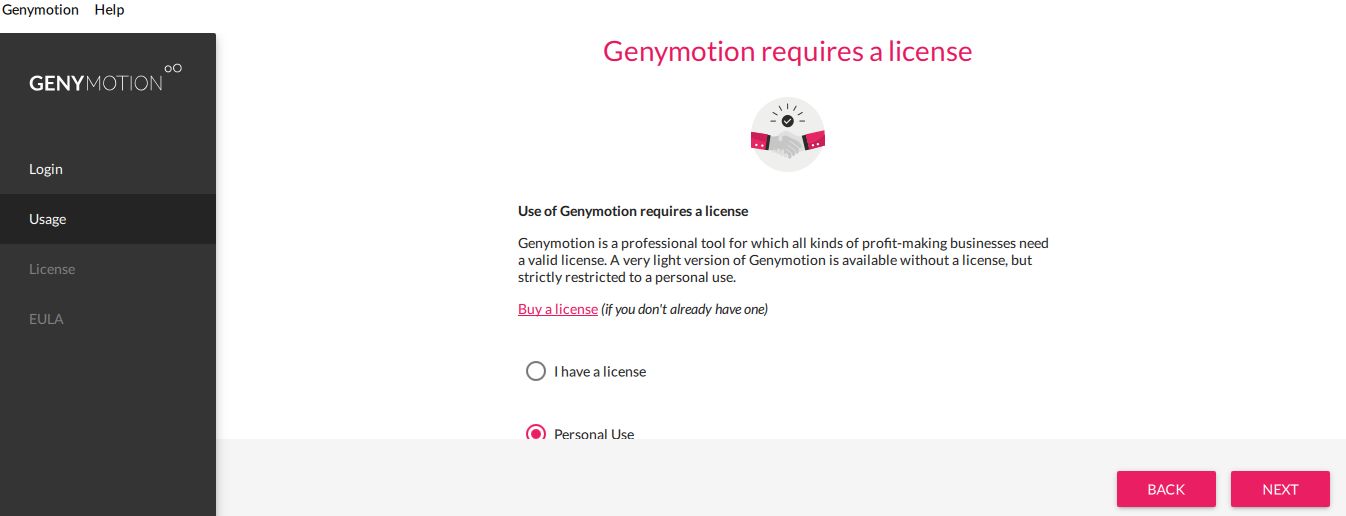
Then Click ‘NEXT’. - You will reach the part where it will ask you for license key but you can just opt for “Personal Use”.
- You will then jump to the EULA (End User License Agreement), just read through and accept the agreement.

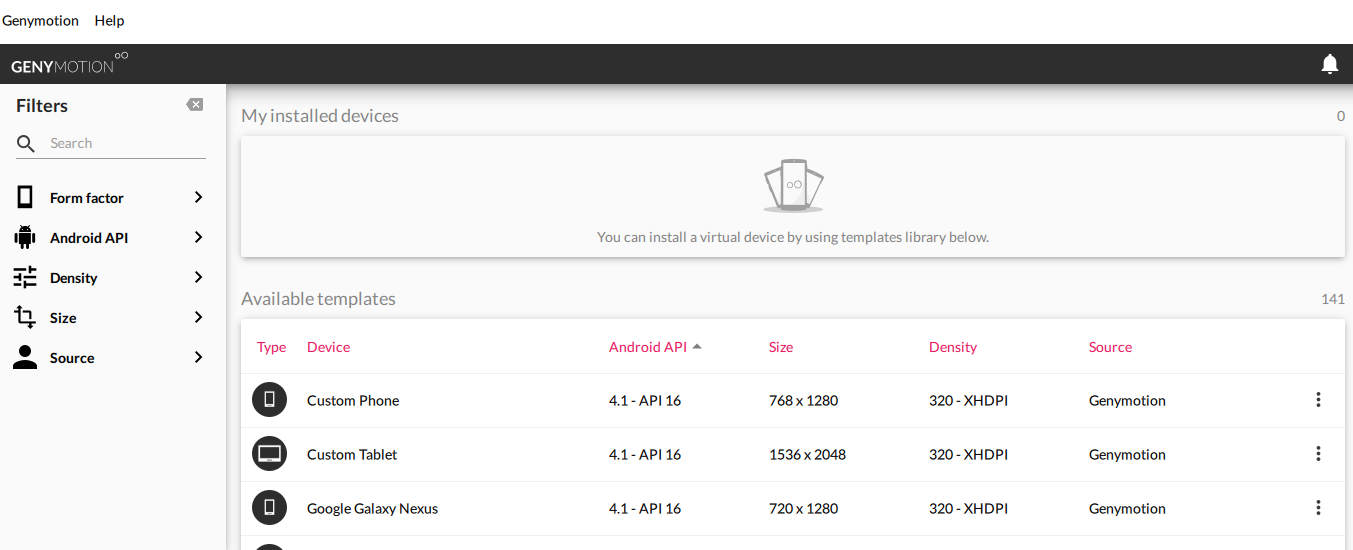
- Click ‘NEXT’, you will arrived at the main panel where you can choose the available templates.
 \
\
We have finished install Genymotion on our host machine. The next part will be installing santoku in virtual box. Why use santoku linux OS? It is because it is used for mobile security pen-testing lab, you can also used Kali Linux. At this point, I will assume that you know how to setup a virtual machine in Virtual Box, thus I will not go through how to setup santoku in Virtual Box.
So, this is the end of the post. Hope you have a nice day.
Author: Bs & Derek.
